Template Google Forms Quiz: A Step-by-Step Guide

Creating quizzes with Google Forms is a great way to engage students, evaluate skills, or collect insights in a fun, interactive way. Google Forms offers easy-to-use tools to build and customize quizzes with various templates. This guide walks you through using templates to create a Google Forms quiz quickly and efficiently.
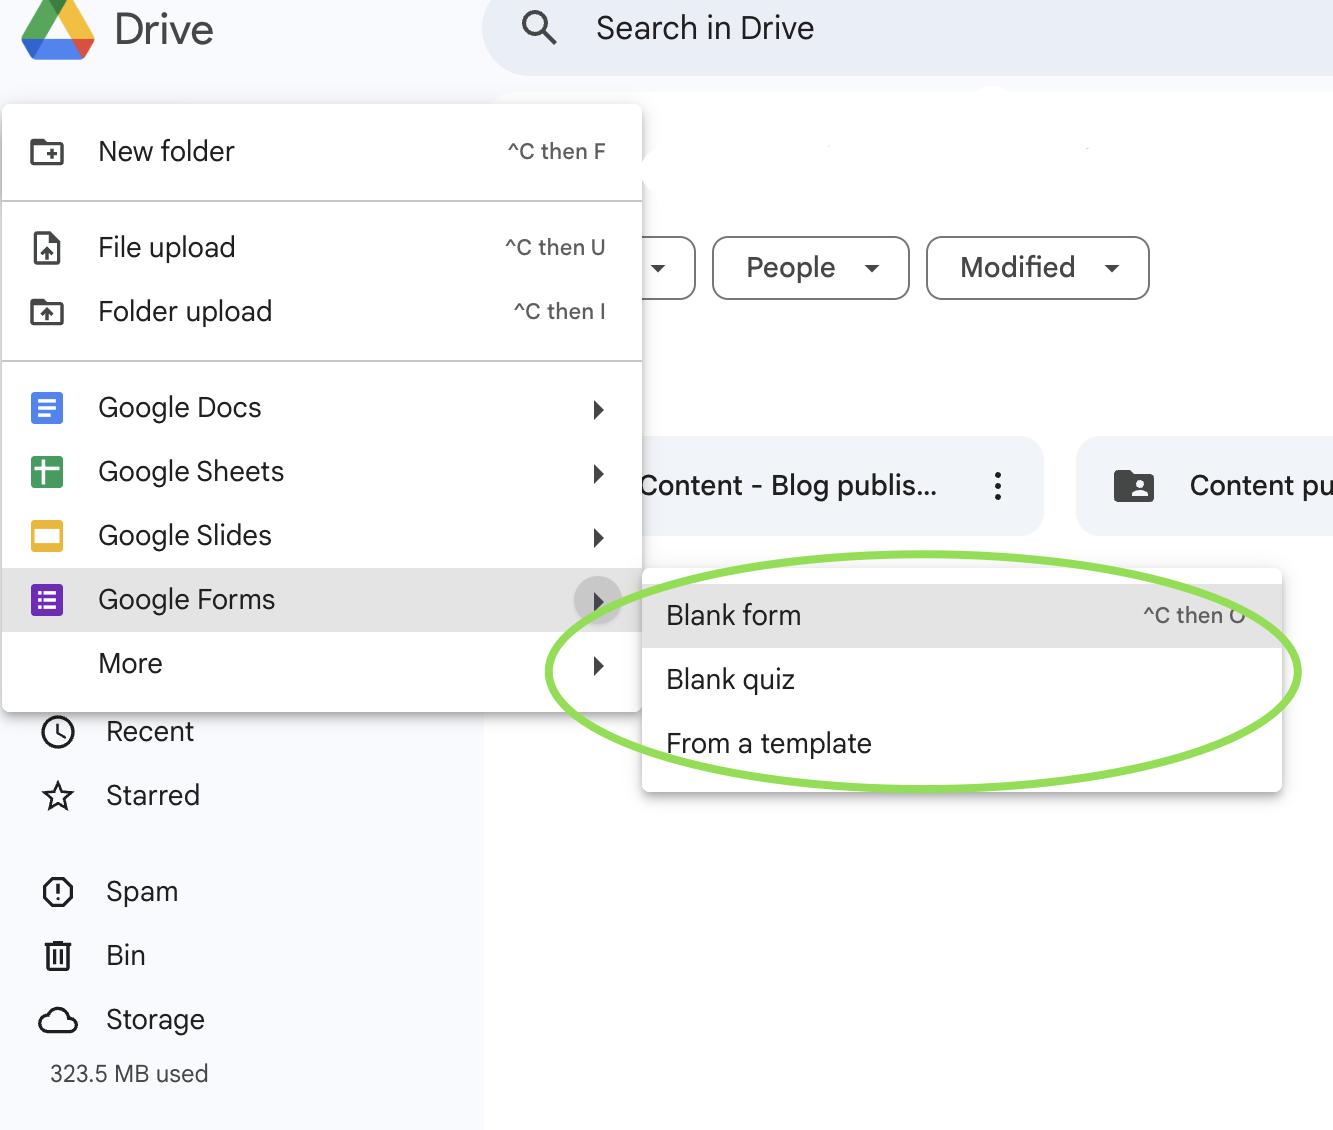
Step-by-Step Guide to Creating a Google Forms Quiz Using a Template
1. Open Google Forms
- First, navigate to Google Forms using your preferred web browser.
- Ensure you’re signed in with your Google account for easy access to templates.
2. Choose a Quiz Template
- On the main Google Forms page, select Template gallery at the top.
- In the template gallery, scroll to locate the Education section, where you’ll find the Blank Quiz or other quiz templates designed specifically for educational purposes.

3. Customize the Quiz Title and Description
- Once the template loads, click on the Quiz Title section at the top to rename it according to your quiz topic, like "Geography Quiz" or "Math Skills Test."
- Add a brief description below the title to provide quiz instructions or details for participants.
4. Add Questions
- Google Forms allows you to create different question types, such as multiple-choice, short answer, and checkboxes.
- To add a new question, click the + icon on the right.
- Choose the type of question that best fits the quiz content and start typing your question.
- Google Forms allows point assignment, so don’t forget to enter points for each question by clicking on Answer Key.
5. Set Up Correct Answers and Feedback
- For each question, click Answer Key to mark the correct answer(s).
- Assign points for correct answers, helping participants know how many points each question is worth.
- You can also add feedback for both correct and incorrect answers by selecting Add Answer Feedback. This can include tips or links to further learning resources.
6. Adjust Quiz Settings
- Go to the Settings tab (gear icon) at the top right to enable quiz mode.
- In Quizzes, ensure the "Make this a quiz" toggle is switched on.
- Customize options such as Immediately releasing scores or showing Missed questions, Correct answers, and Point values to respondents.
7. Preview the Quiz
- Click the eye icon at the top right to preview the quiz. This view allows you to see what participants will experience.
- Go through each question to check formatting and content accuracy.
8. Share the Quiz
- When your quiz is ready, click the Send button at the top.
- Share it via email, link, or embedded HTML code. Google Forms provides various sharing options to help you reach participants easily.
9. Review Responses and Analyze Results
- After participants complete the quiz, access the Responses tab to review answers and scores.
- Google Forms provides summaries, graphs, and charts to help you analyze performance metrics.
FAQs
1. Can I change the template after creating the quiz?
Unfortunately, you cannot switch templates mid-quiz creation. However, you can copy questions to a new form if needed.
2. How can I add images to quiz questions?
When creating a question, select the image icon to upload or search for images to make your questions more visually engaging.
3. Can I set a time limit on Google Forms quizzes?
Currently, Google Forms does not support built-in time limits. To implement time restrictions, consider using an external add-on such as Quilgo.
4. How do I access quiz templates outside the Education category?
Templates are categorized to simplify navigation, but any template can be customized for quizzes by adding and formatting questions as needed.