Publish to WordPress from Google Docs in 5 Easy Steps

If you're a content creator who frequently uses Google Docs, you'll be pleased to know that publishing your work directly to WordPress has never been easier. Thanks to tools like Docswrite, you can streamline your writing and publishing process. Here’s a simple guide to help you publish your Google Docs content to WordPress in just five easy steps.
Step 1: Install the Docswrite Plugin
Before you can start publishing, you need to install the Docswrite plugin on your WordPress site. Here’s how to do it:
- Log in to your WordPress dashboard.
- Navigate to the Plugins section and click on Add New.
- Search for Docswrite.
- Click on Install Now, and then activate the plugin.
Once installed, the plugin will allow you to connect your Google Docs to your WordPress account seamlessly.

Step 2: Connect Google Docs to Docswrite
After installing the Docswrite plugin, you need to connect it with your Google account:
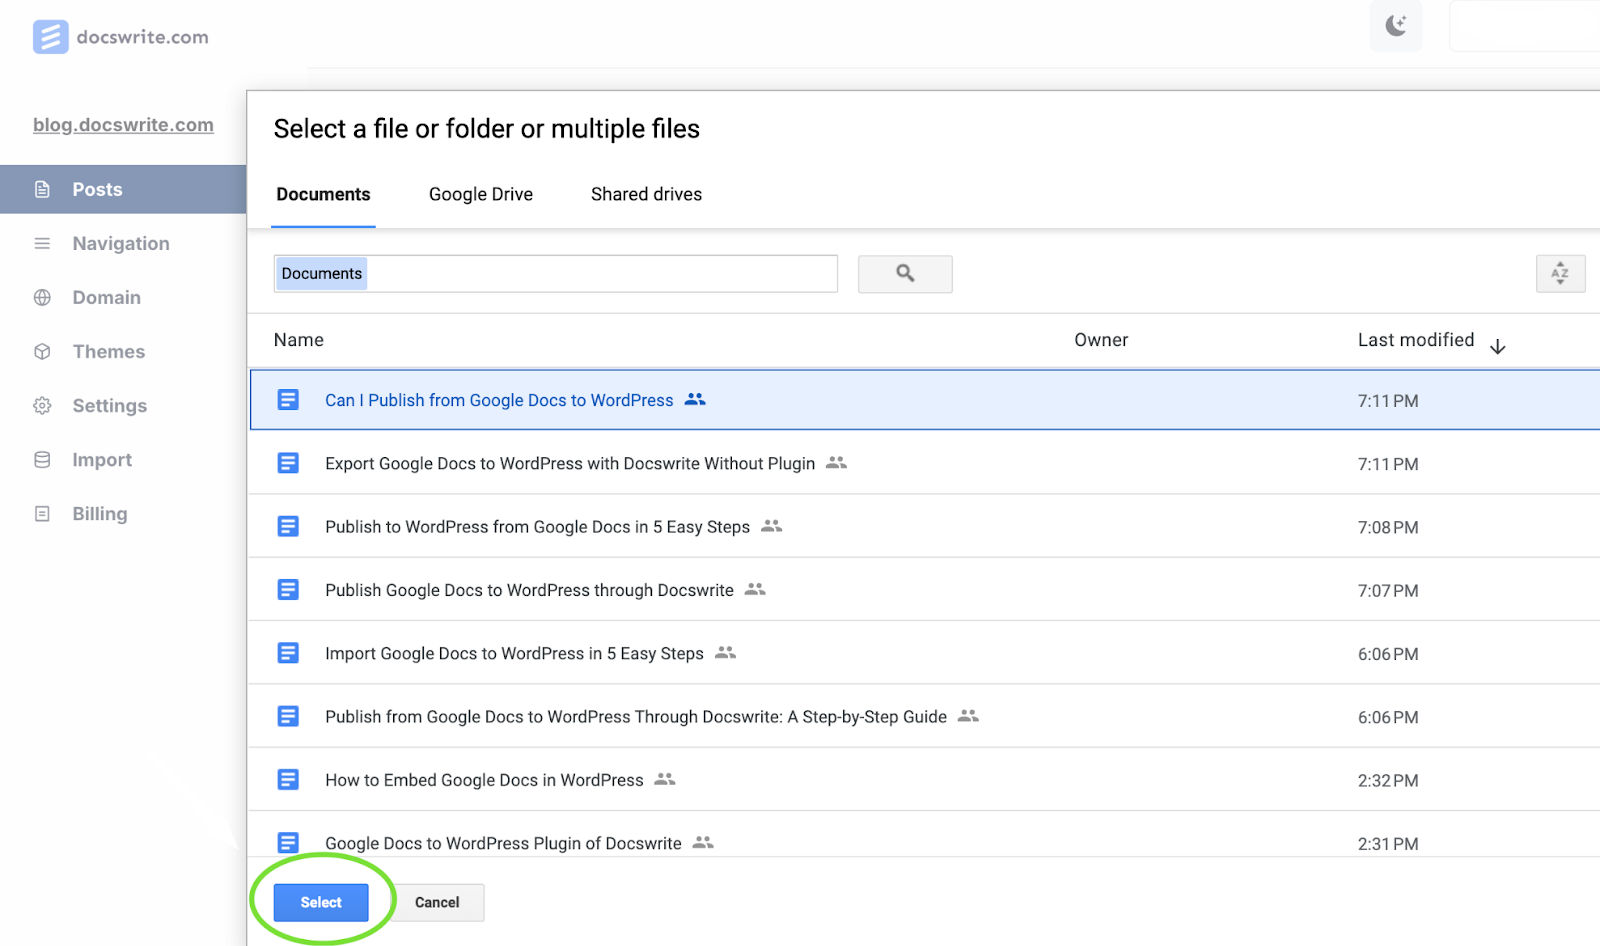
- Open Google Docs and create or open the document you want to publish.
- Click on Add-ons in the menu, and select Docswrite.
- Choose the option to Connect to WordPress.
- Follow the prompts to log in to your WordPress account and authorize the connection.
This integration will enable you to publish your documents directly to your WordPress site.
Step 3: Format Your Document
Before publishing, ensure your document is properly formatted. Use headings, bullet points, and images to enhance readability. Here are some quick tips:
- Use Heading 1 for your title and Heading 2 for subheadings.
- Ensure images are correctly inserted and appropriately sized.
- Use bullet points for lists to improve clarity.
Good formatting not only enhances the user experience but also contributes to SEO optimization.
Step 4: Publish Your Document
Now that your document is ready, it’s time to publish it to WordPress:
- With your document open in Google Docs, go to the Add-ons menu again and select Docswrite.
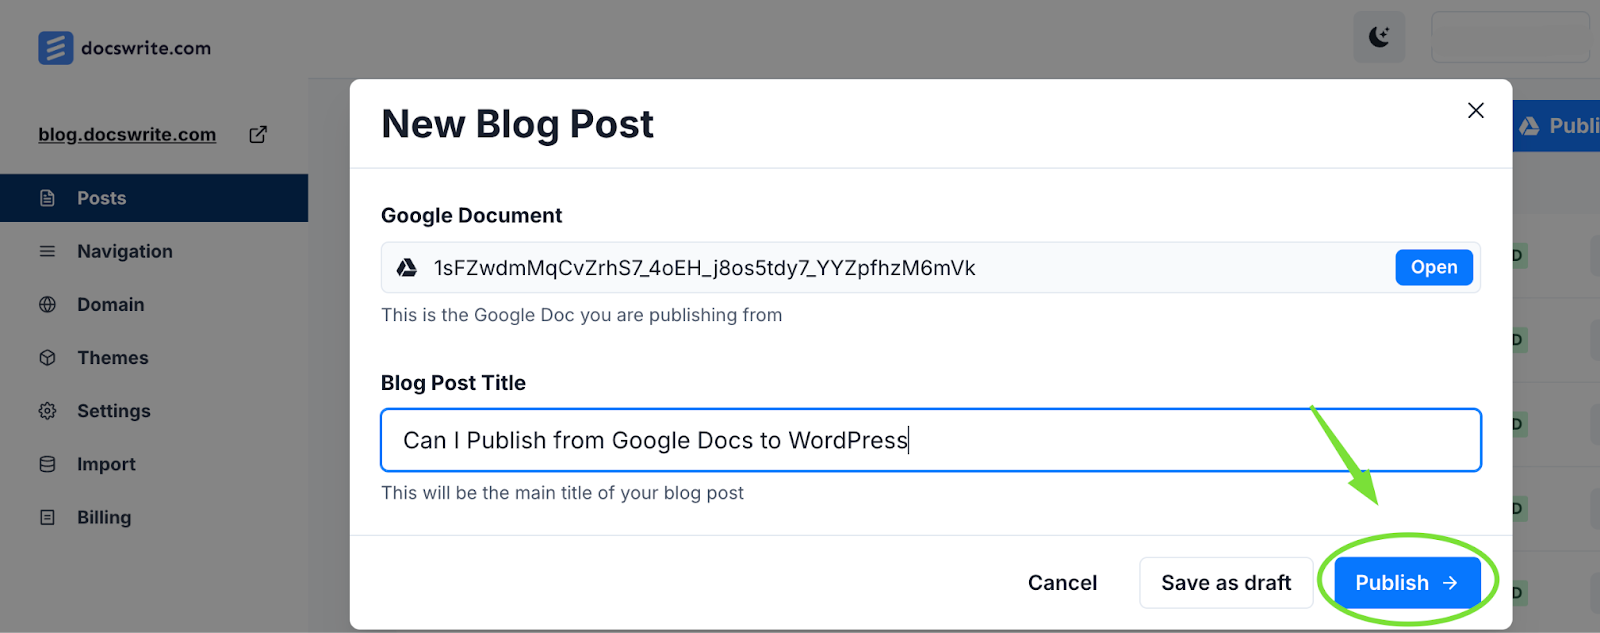
- Click on Publish to WordPress.
- Choose your desired settings, such as the post status (e.g., draft or publish immediately).
- Click Publish.
Your document will now be uploaded directly to your WordPress site, complete with all formatting intact!


Step 5: Review and Edit on WordPress
After publishing, it’s essential to review your post on WordPress:
- Go to your WordPress dashboard and navigate to Posts.
- Find your recently published post and click on Edit.
- Review the content, make any necessary edits, and add tags or categories.
Once satisfied, click Update to ensure your changes are saved.
FAQ
Q1: Can I publish multiple Google Docs to WordPress at once?
A1: Currently, Docswrite allows you to publish one document at a time. However, you can repeat the process for each document you wish to publish.
Q2: Do I need a WordPress.org site to use Docswrite?
A2: Yes, Docswrite is designed for self-hosted WordPress.org sites. It may not work with WordPress.com unless you have a Business plan that supports plugins.
Q3: Is there a cost associated with using Docswrite?
A3: Docswrite offers both free and premium versions. The free version includes basic functionalities, while the premium version provides advanced features and support.
Q4: Can I use other Google Workspace tools with Docswrite?
A4: Currently, Docswrite is primarily focused on Google Docs. However, integrations with other Google Workspace tools may be added in the future