How to Use the SEOquake Plugin: A Step-by-Step Guide
In the ever-evolving landscape of digital marketing, understanding the performance of your website is crucial for effective SEO strategies. The SEOquake plugin is an invaluable tool for this purpose. This browser extension provides a wealth of information about your site's SEO metrics, helping you make informed decisions. In this post, we'll guide you through the installation and usage of the SEOquake plugin to enhance your website's optimization efforts.
Step 1: Install the SEOquake Plugin
- Choose Your Browser: SEOquake is available for major browsers such as Google Chrome, Mozilla Firefox, and Opera. Open the browser of your choice.
- Visit the SEOquake Website: Go to the official SEOquake website or search for it in your browser's extension store.
- Download the Extension: Click the "Install" button for your chosen browser. Follow the on-screen instructions to add the extension to your browser.
- Grant Permissions: After installation, you may need to allow the plugin access to your browsing data. This is necessary for SEOquake to function properly.

Step 2: Configure Your Settings
- Open the Plugin: Once installed, click the SEOquake icon in your browser's toolbar to open the plugin.
- Access Settings: Click on the gear icon to enter the settings menu. Here, you can customize various features, such as enabling or disabling specific metrics.
- Select Your Metrics: SEOquake provides a range of metrics, including Google PageRank, Alexa Rank, and backlinks. Choose the metrics that are most relevant to your SEO strategy.
Step 3: Analyze Your Website
- Visit Your Website: Navigate to your website or any webpage you want to analyze.
- Use the SEOquake Toolbar: The toolbar will appear at the top of the page, displaying key SEO metrics for the current site. Take note of important metrics such as keyword density, external links, and social media shares.
- Compare with Competitors: To gain insights into your competitors, simply enter their URLs in the SEOquake toolbar. This will allow you to compare your SEO metrics with theirs.
Step 4: Utilize the Advanced Features
- Perform SEO Audit: SEOquake offers an SEO audit feature that evaluates your site's performance and provides actionable recommendations. Access this by clicking on "SEO Audit" in the toolbar.
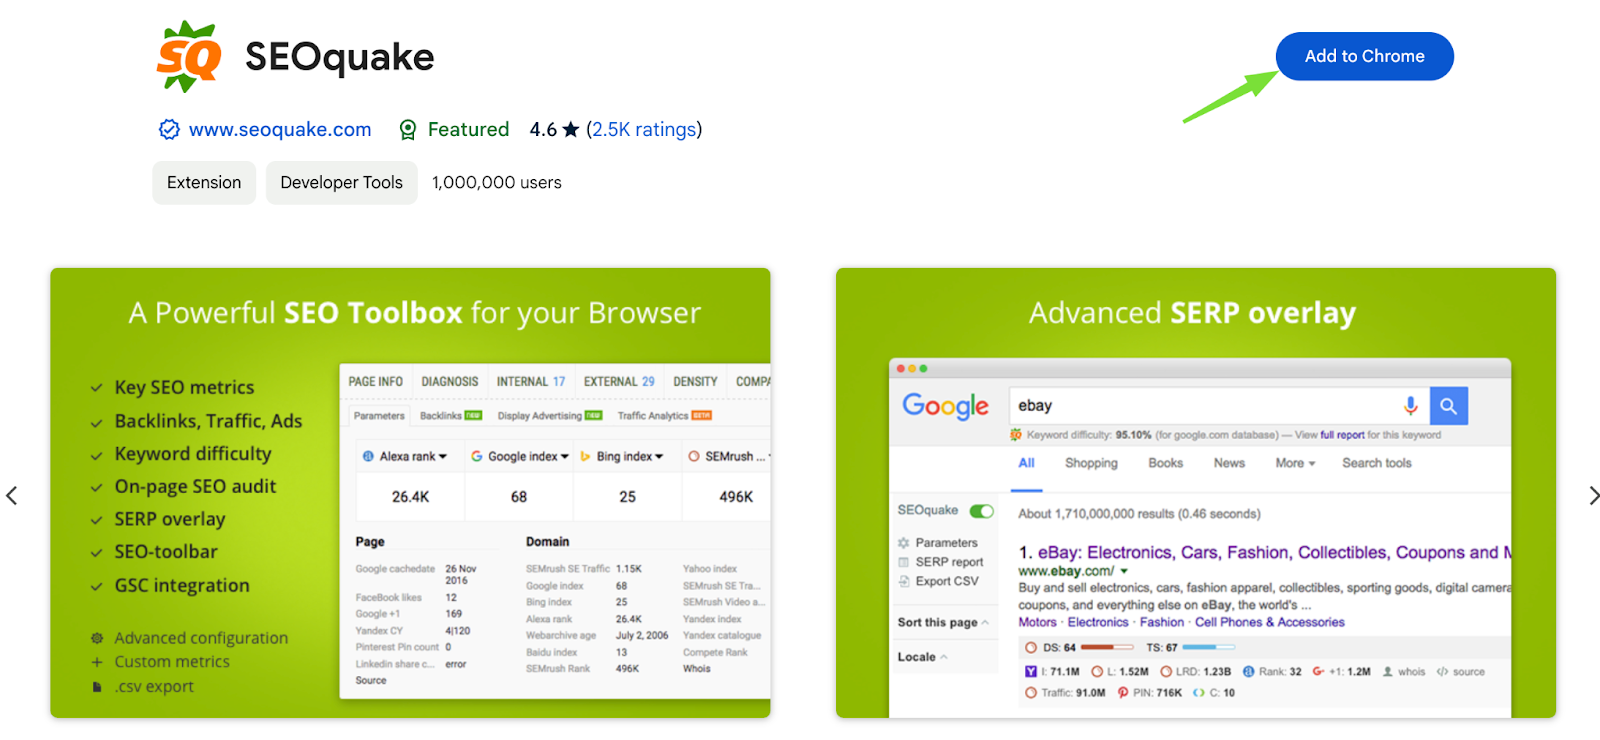
- Check SERP Overlay: This feature allows you to see SEO parameters directly in the search engine results pages (SERPs). Enable this feature in the settings for a comprehensive view of the competition.
- Export Data: If you need to share or analyze your data, use the export function to download your findings in various formats (CSV, PDF, etc.).
FAQ
Q1: Is SEOquake free to use?
A1: Yes, SEOquake is a free browser extension that provides valuable SEO metrics and analysis tools.
Q2: Which browsers support SEOquake?
A2: SEOquake is compatible with major browsers such as Google Chrome, Mozilla Firefox, and Opera.
Q3: Can I customize the metrics displayed in SEOquake?
A3: Absolutely! You can choose which metrics to display by adjusting the settings in the SEOquake plugin.
Q4: How often is the data updated?
A4: The data provided by SEOquake is updated regularly, but the frequency may vary depending on the metrics.
Q5: Can SEOquake help with keyword analysis?
A5: Yes, SEOquake provides keyword density metrics, helping you optimize your content for better search engine visibility.