How to Make an Exam in Google Forms

Creating an exam using Google Forms is an efficient way to assess student knowledge and streamline the grading process. With its user-friendly interface and versatile features, Google Forms allows educators to design customized assessments that can be easily shared and analyzed. In this guide, we’ll walk you through the steps to create an exam in Google Forms, making the process simple and effective.
Step 1: Access Google Forms
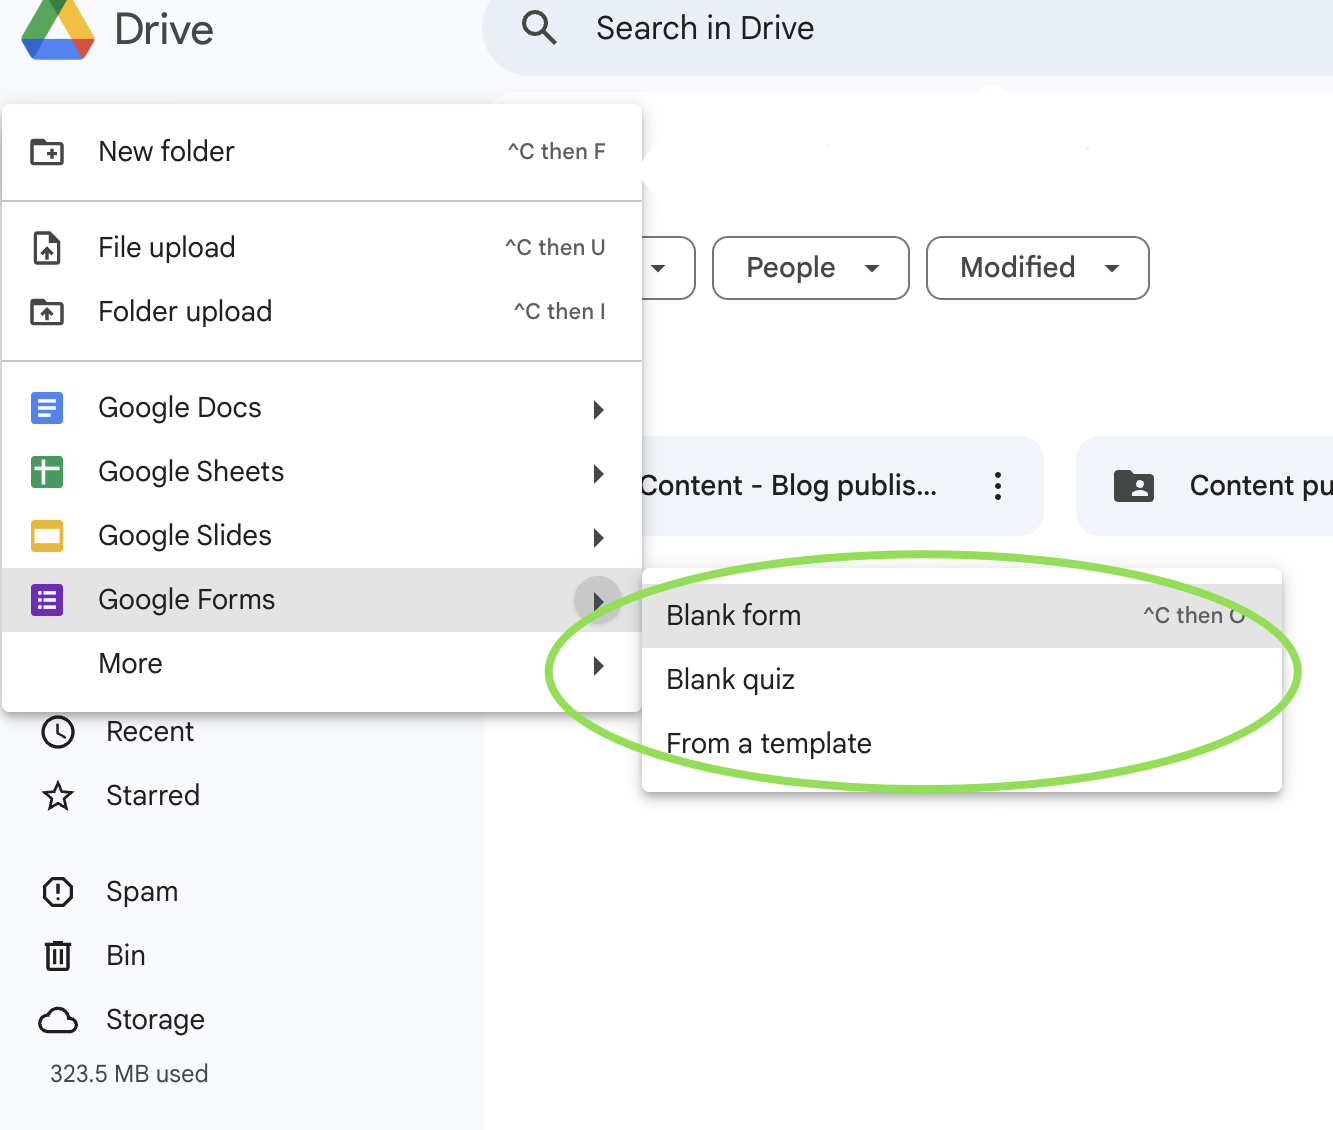
To get started, open your web browser and navigate to Google Forms. If you are not already signed in, log in with your Google account. You can also access Google Forms from Google Drive by clicking on the "New" button, selecting "More," and then choosing "Google Forms."
Step 2: Choose a Template
Once you are in Google Forms, you can either start with a blank form or choose from a variety of templates. For exams, it may be beneficial to select a template designed for quizzes. Click on the "Template Gallery" at the top to explore options and choose one that fits your needs.
Step 3: Set Up Your Exam Title and Description
After selecting a template or starting from scratch, enter a title for your exam at the top of the form. This should be clear and descriptive, such as "Biology Midterm Exam." Below the title, you can provide a brief description of the exam, including instructions or important information for the students.
Step 4: Add Questions
To create your exam, you’ll need to add questions. Click on the "+" button on the right side of the form to add a new question. Google Forms allows you to choose from various question types, including multiple choice, short answer, checkboxes, and linear scale. For a well-rounded exam, consider using a mix of question types.
Example Question Types:
- Multiple Choice: Good for straightforward questions with defined options.
- Checkboxes: Ideal for questions that allow multiple correct answers.
- Short Answer: Useful for open-ended questions requiring explanations.
Step 5: Customize Question Settings
For each question, you can customize settings to enhance the exam experience. Click on the gear icon to access settings such as shuffling question order, making questions required, or adding feedback for correct or incorrect answers. Utilizing these options can help ensure a more structured assessment.
Step 6: Configure Exam Settings
Once you’ve added all your questions, click on the gear icon in the upper right corner to access the form settings. Here, you can enable options like collecting email addresses, limiting responses to one per user, and allowing respondents to edit their responses after submitting.
Step 7: Share Your Exam
To distribute your exam, click on the "Send" button in the top right corner. You can share the form via email, social media, or by generating a shareable link. Make sure to adjust the link settings to ensure that it is accessible to all intended respondents.
Step 8: Analyze Responses
As students submit their exams, you can monitor responses in real-time. Click on the "Responses" tab at the top of the form to view summary data and individual answers. Google Forms also provides the option to export responses to Google Sheets for more detailed analysis.
FAQ
1. Can I set a time limit for the exam in Google Forms? Unfortunately, Google Forms does not have a built-in feature to set a time limit. However, you can use third-party add-ons like "Form Timer" to impose time constraints.
2. Can I grade the exam automatically? Yes! For multiple-choice and checkbox questions, Google Forms can automatically grade the exam if you assign point values and correct answers in the settings.
3. How can I prevent students from cheating? To minimize cheating, you can randomize questions, use different question types, and monitor response times. Additionally, encouraging academic integrity can help maintain a fair assessment environment.
4. Can I add images or videos to my exam? Absolutely! You can enhance your questions by adding images or videos to provide context or visual aids.