How to Create Multiple Choice Questions in Google Forms

Google Forms is a powerful tool that simplifies the process of gathering information, whether for surveys, quizzes, or feedback. One of the most commonly used features is the multiple-choice question type, which allows respondents to select one answer from a list of options. In this blog post, we’ll walk you through the steps to create multiple-choice questions in Google Forms, ensuring your surveys are engaging and effective.
Step-by-Step Guide to Creating Multiple Choice Questions
Step 1: Prepare Your Google Doc
Before using Formswrite, ensure your Google Doc is well-structured.
- Format questions as bullet points or numbered lists.
- Add any specific instructions to clarify your content.
Step 2 : Publish Your Content Using Formswrite
Now that your content is ready, it’s time to publish:
Open Formswrite Dashboard: Log in to your Formswrite account and navigate to your dashboard.
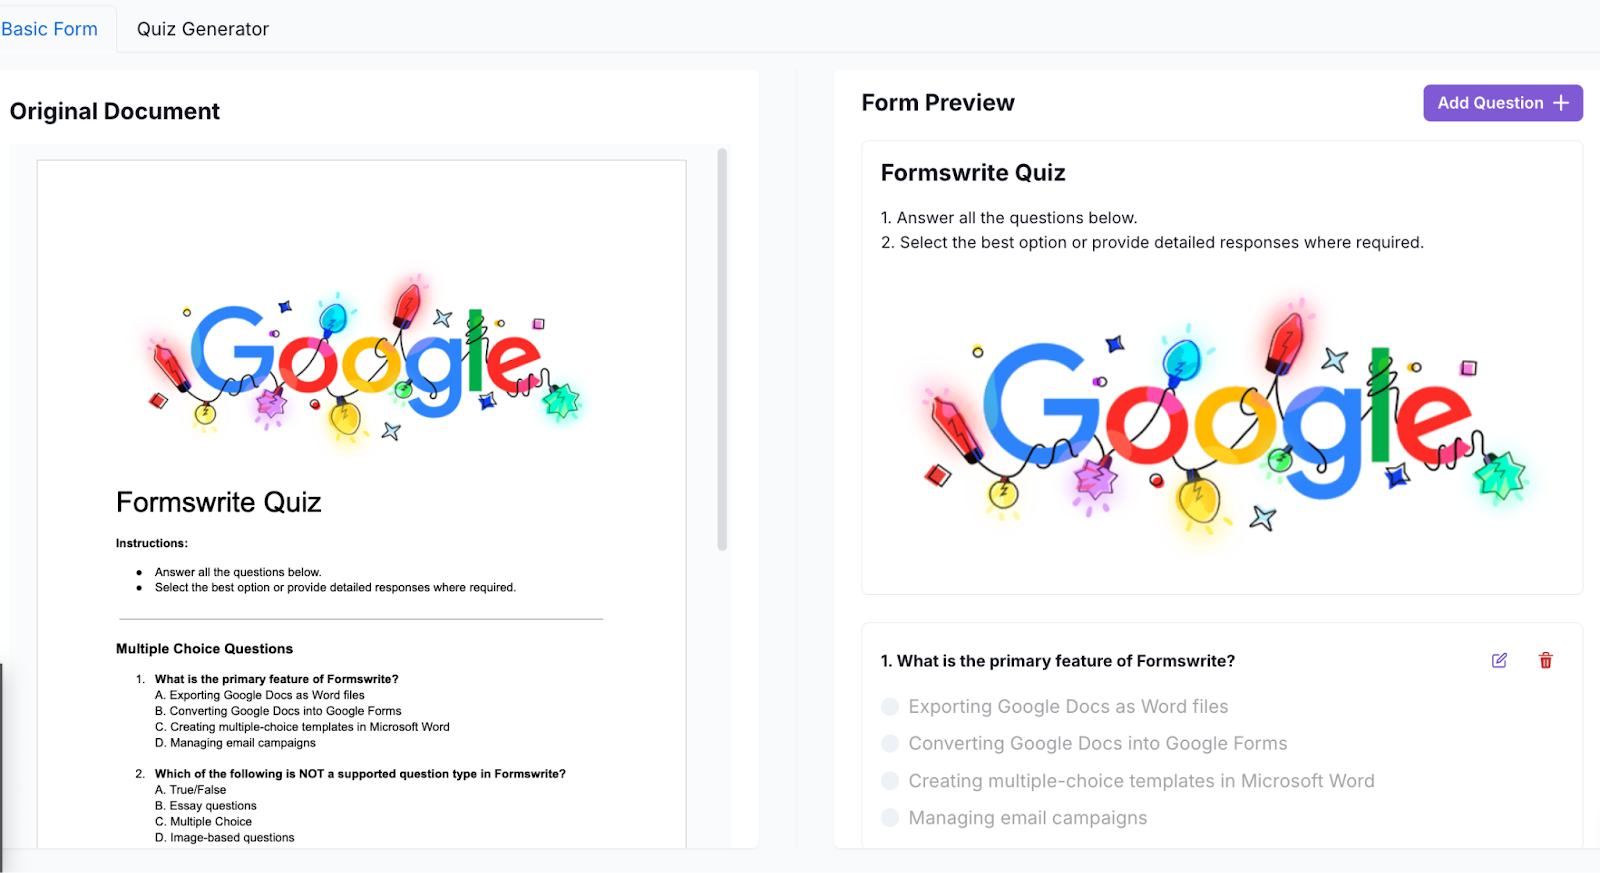
Select “Create New Form” & Select your document: Choose the Google Doc you want to publish from the list of documents linked to your Formswrite account.

Preview your document & your form: Customize the publishing according to your preferences. You will be able to add, delete or modify your question. Next to the question, you have a small icon where you can edit and be able to create multiple choice questions.

Convert to Form: Click the “Convert to Form” button. Formswrite will handle the rest, ensuring your content is converted effectively.
“View Form”: When satisfied, click on the “View Form” button. Formswrite will integrate directly with your Google account, creating a form you can access and share via Google Forms.

Step 3: Share Your Form
Now that your Google Form is ready, you can copy the shareable link or send invitations directly from the Google Forms interface.
Frequently Asked Questions (FAQ)
1. Can I add images to multiple-choice questions?
Yes, you can add images to your multiple-choice questions. Simply click on the image icon next to the option field and upload your desired image.
2. Can I limit respondents to one answer in multiple-choice questions?
Absolutely! The multiple-choice question type inherently allows only one answer to be selected by each respondent.
3. How can I view responses to my Google Form?
To view responses, go back to your Google Form and click on the "Responses" tab at the top. Here, you can see a summary of responses, individual responses, and even export them to Google Sheets for further analysis.
4. Is Google Forms free to use?
Yes, Google Forms is a free tool available to anyone with a Google account.