How to Create a Google Form Quiz: A Step-by-Step Guide

Creating a quiz using Google Forms is an efficient way to assess knowledge, gather feedback, or make learning interactive. With its user-friendly interface, Google Forms makes it easy for anyone to create engaging quizzes. In this post, we will walk you through the process of setting up your own Google Form quiz in just a few simple steps.
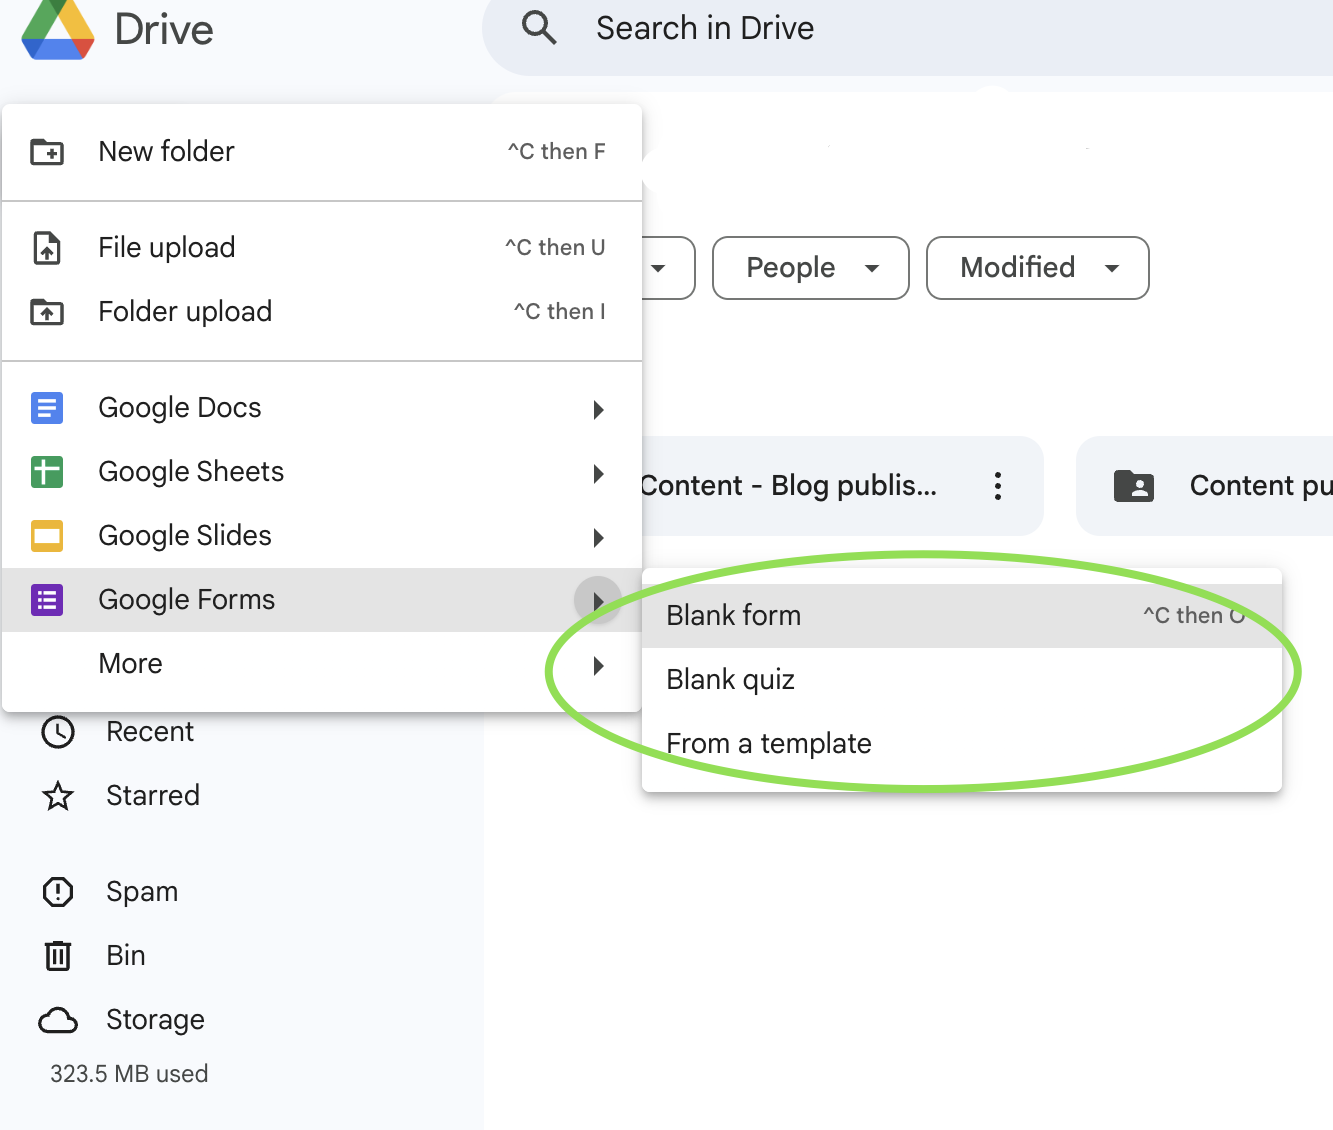
Step 1: Access Google Forms
To get started, navigate to Google Forms using your preferred web browser. You’ll need to be signed in to your Google account. If you don’t have an account yet, creating one is free and straightforward.
Step 2: Choose a Template or Start from Scratch
Once you're in Google Forms, you can either select a quiz template from the template gallery or click on the blank form option to start from scratch. The template gallery offers pre-made designs, which can save you time, especially if you're looking for inspiration.

Step 3: Title Your Quiz
At the top of the form, click on "Untitled form" to enter your quiz title. Choose a title that reflects the subject of your quiz. You can also add a brief description to inform participants about the quiz’s purpose or any specific instructions they should follow.
Step 4: Add Questions
To add questions, click on the "+" button on the right side of the form. Google Forms supports various question types, including multiple-choice, checkboxes, short answer, and dropdowns. Here’s how to add questions:
- Select the Question Type: Choose from the dropdown menu (e.g., multiple choice, short answer).
- Type Your Question: Enter the question text in the provided field.
- Input Answer Options: For multiple-choice questions, list the possible answers. You can add more options by clicking "Add option."
- Make It Required: If you want to ensure that participants answer the question, toggle the "Required" option.
Step 5: Configure Quiz Settings
To turn your form into a quiz, click on the gear icon (settings) in the top right corner. In the settings menu:
- Select the "Quizzes" Tab: Toggle on "Make this a quiz." This allows you to assign point values and designate correct answers for automatic grading.
- Adjust Settings: You can also customize settings for respondents, such as allowing them to see missed questions, correct answers, and point values.
Step 6: Preview Your Quiz
Before sharing your quiz, it's important to preview it. Click on the eye icon at the top right corner to see how it will look to participants. Check for any errors or areas needing adjustments.
Step 7: Share Your Quiz
Once you're satisfied with your quiz, it’s time to share it. Click on the "Send" button in the top right corner. You can share your quiz via:
- Email: Enter email addresses to send directly.
- Link: Generate a sharable link and copy it to distribute via social media or other platforms.
- Embed: For websites, you can embed the quiz using HTML.
Step 8: Analyze Responses
After participants complete your quiz, you can review their responses. Go back to Google Forms, click on "Responses," and view the summary or individual answers. You can also link your form to Google Sheets for more in-depth analysis.
Frequently Asked Questions (FAQ)
1. Can I add images or videos to my quiz?
Yes, you can insert images or videos by clicking on the image or video icon while adding questions.
2. Is Google Forms free to use?
Yes, Google Forms is completely free for anyone with a Google account.
3. Can I set a time limit for my quiz?
Google Forms does not have a built-in timer, but you can specify a time limit by indicating it in the quiz description or using external tools.
4. How do I ensure my quiz is accessible to everyone?
Ensure that the form settings allow anyone with the link to access it. You can also test the quiz with a friend or colleague to verify its accessibility.