How to Convert a DOC to Google Form: A Step-by-Step Guide

Creating forms is a crucial aspect of gathering information, conducting surveys, or even collecting feedback. If you’ve created a document in Google Docs and now need to convert it into a Google Form, this guide will walk you through the process. Follow these steps to seamlessly transform your document into an interactive form or directly go to Formswrite
Step 1: Prepare Your Google Doc
Before using , ensure your Google Doc is well-structured.
- Format questions as bullet points or numbered lists.
- Add any specific instructions to clarify your content.
Step 2 : Publish Your Content Using
Now that your content is ready, it’s time to publish:
Open Dashboard:
Log in to your Formswrite account and navigate to your dashboard.
Select “Create New Form” & Select your document:
Choose the Google Doc you want to publish from the list of documents linked to your Formswrite account.

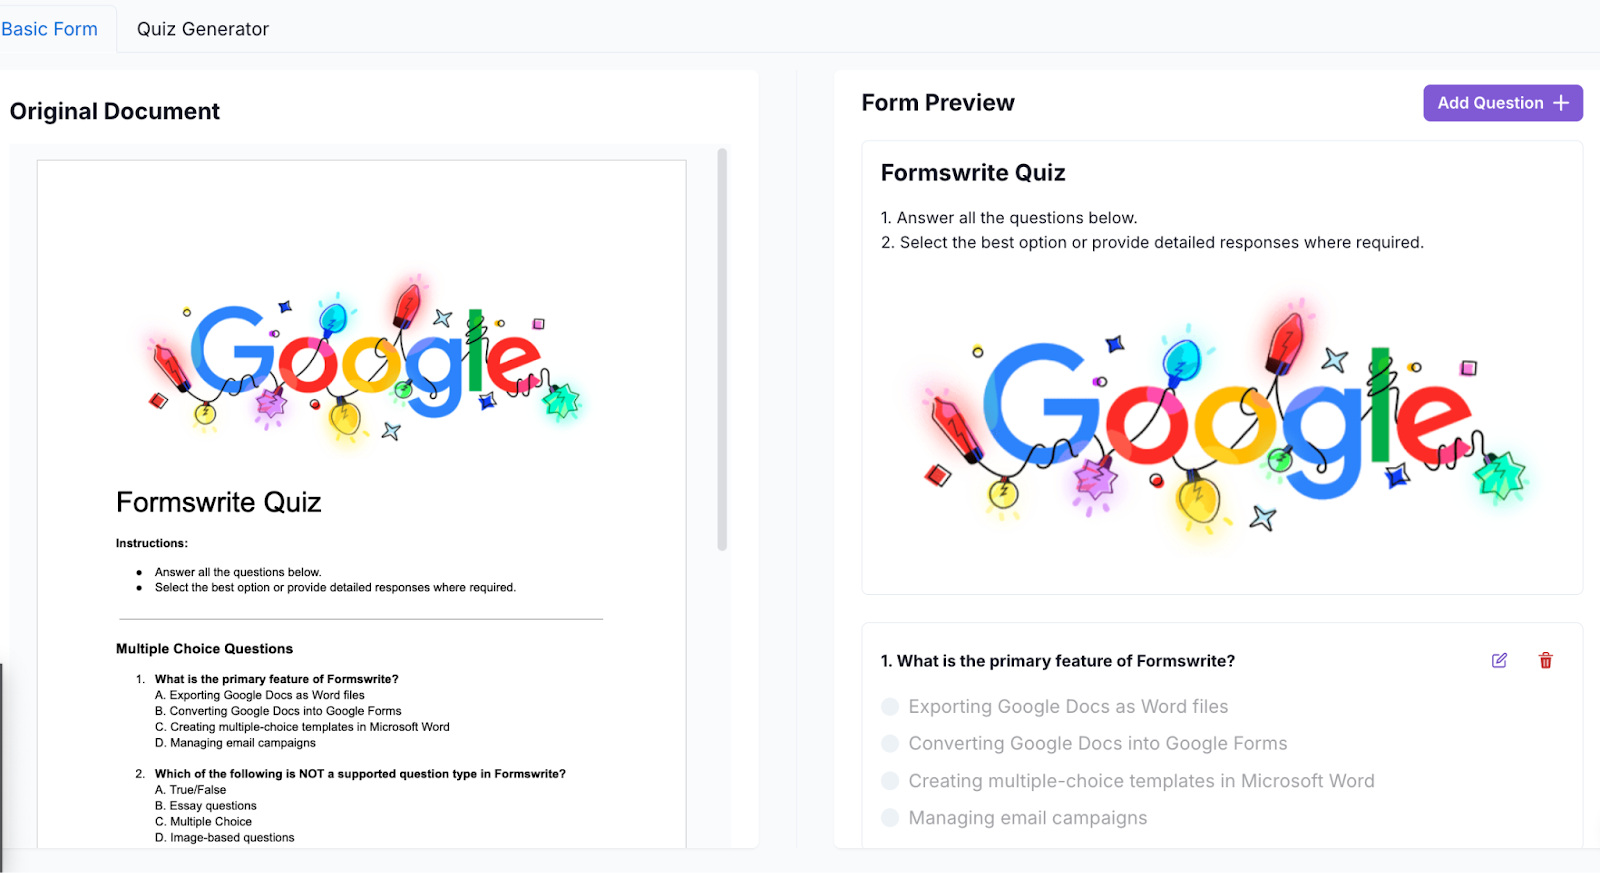
Preview your document & your form:
Customize the publishing according to your preferences.
You will be able to add, delete or modify your question.

Convert to Form: Click the “Convert to Form” button.
will handle the rest, ensuring your content is converted effectively.
“View Form”: When satisfied, click on the “View Form” button. will integrate directly with your Google account, creating a form you can access and share via Google Forms.

Step 3: Share Your Form
Now that your Google Form is ready, you can copy the shareable link or send invitations directly from the Google Forms interface.
FAQ
Q1: Can I convert a Word document to Google Forms?
Yes, you can convert a Word document to Google Forms using the same steps outlined above and using . Just upload your Word document to Google Drive, open it in Google Docs, and follow the conversion process.
Q2: Are there any limitations on the number of questions I can add?
Google Forms allows for a substantial number of questions, with a limit of 400 questions per form. However, it’s best to keep your form concise for better user engagement.
Q3: Can I edit my Google Form after sharing it?
Absolutely! You can make changes to your Google Form at any time, even after it has been shared. Just remember that the changes will be reflected in the responses you receive.