Google Forms: Create a Quiz in Just a Few Simple Steps

Creating a quiz using Google Forms is a straightforward and effective way to assess knowledge, gather feedback, or engage your audience. Whether you’re an educator looking to test your students or a business professional gathering input from colleagues, Google Forms provides a user-friendly platform to design quizzes with various question types. In this post, we’ll walk you through the steps to create your own quiz in Google Forms.
Step 1: Prepare Your Google Doc
Before using Formswrite, ensure your Google Doc is well-structured.
- Format questions as bullet points or numbered lists.
- Add any specific instructions to clarify your content.
Step 2 : Publish Your Content Using Formswrite
Now that your content is ready, it’s time to publish:
Open Formswrite Dashboard: Log in to your Formswrite account and navigate to your dashboard.
Select “Create New Form” & Select your document: Choose the Google Doc you want to publish from the list of documents linked to your Formswrite account.

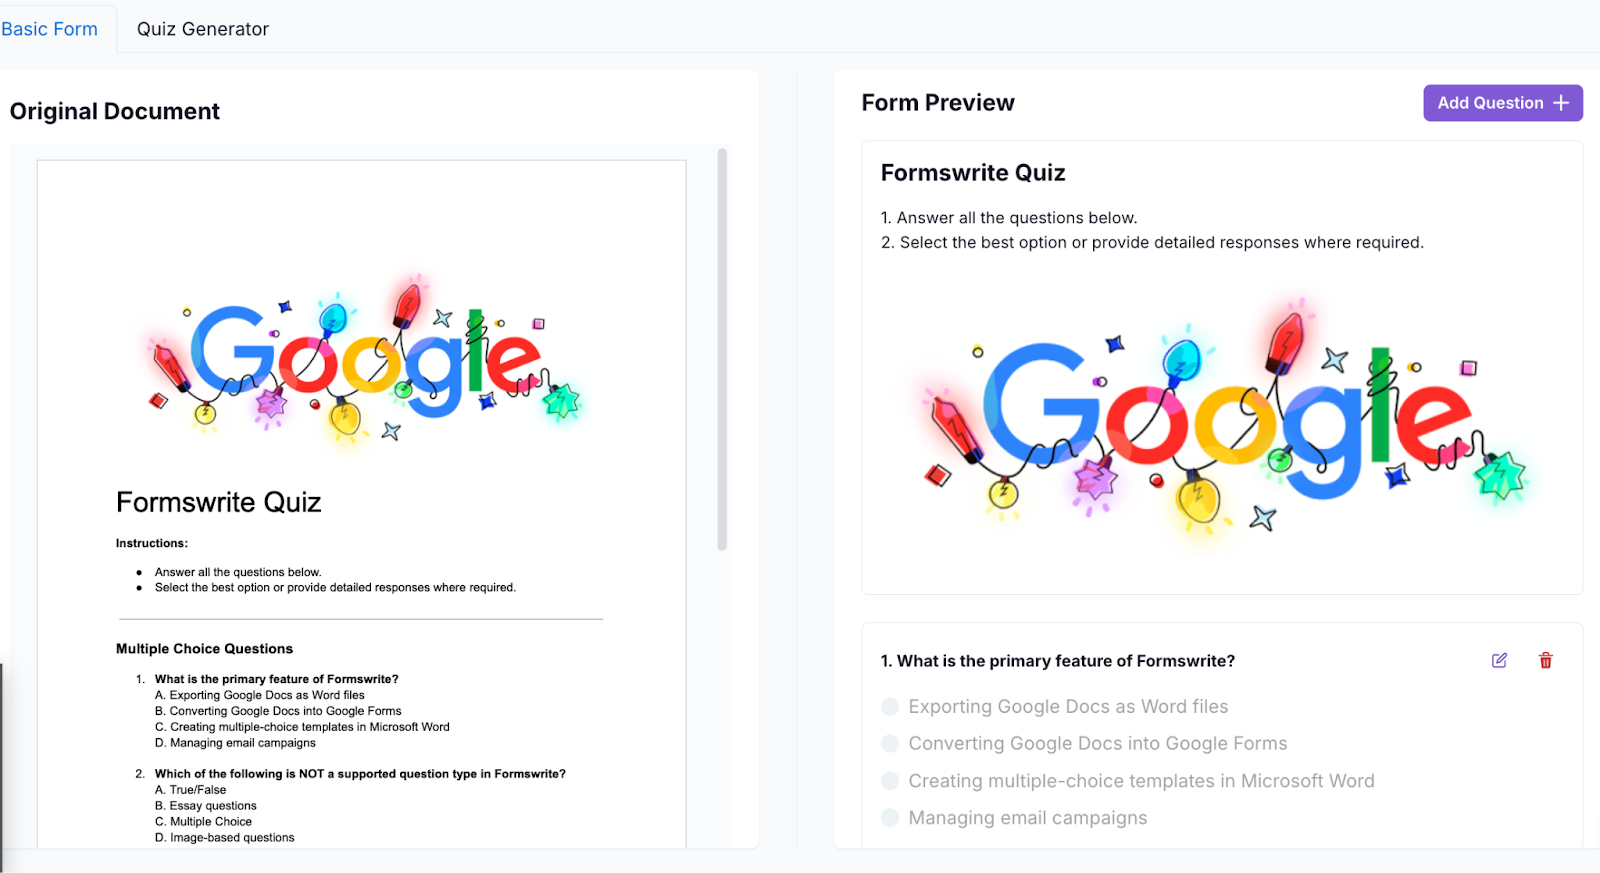
Preview your document & your form: Customize the publishing according to your preferences. You will be able to add, delete or modify your question.

Convert to Form: Click the “Convert to Form” button. Formswrite will handle the rest, ensuring your content is converted effectively.
“View Form”: When satisfied, click on the “View Form” button. Formswrite will integrate directly with your Google account, creating a form you can access and share via Google Forms.

Step 3: Share Your Form
Now that your Google Form is ready, you can copy the shareable link or send invitations directly from the Google Forms interface.
FAQ Section
Q1: Can I see responses in real-time?
Yes, Google Forms allows you to view responses in real-time. You can check responses by clicking on the “Responses” tab at the top of your form.
Q2: Can I edit the quiz after sharing it?
Absolutely! You can make changes to your quiz at any time, even after sharing it. Participants will see the most recent version when they access the form.
Q3: Is Google Forms free to use?
Yes, Google Forms is completely free to use with a Google account, making it an accessible tool for everyone.
Q4: Can I analyze quiz results?
Yes, Google Forms offers built-in analytics that lets you view summary statistics and individual responses. You can also export the results to Google Sheets for further analysis.