Google Form for Quizzes: A Step-by-Step Guide

Creating quizzes using Google Forms is an efficient and user-friendly way to assess knowledge and engage participants. Whether you're a teacher looking to evaluate your students or a manager wanting to test your team's understanding of training material, Google Forms provides a versatile platform for creating interactive quizzes. This guide will walk you through the steps to create your quiz, ensuring that it is both engaging and easy to manage.
Step 1: Access Google Forms
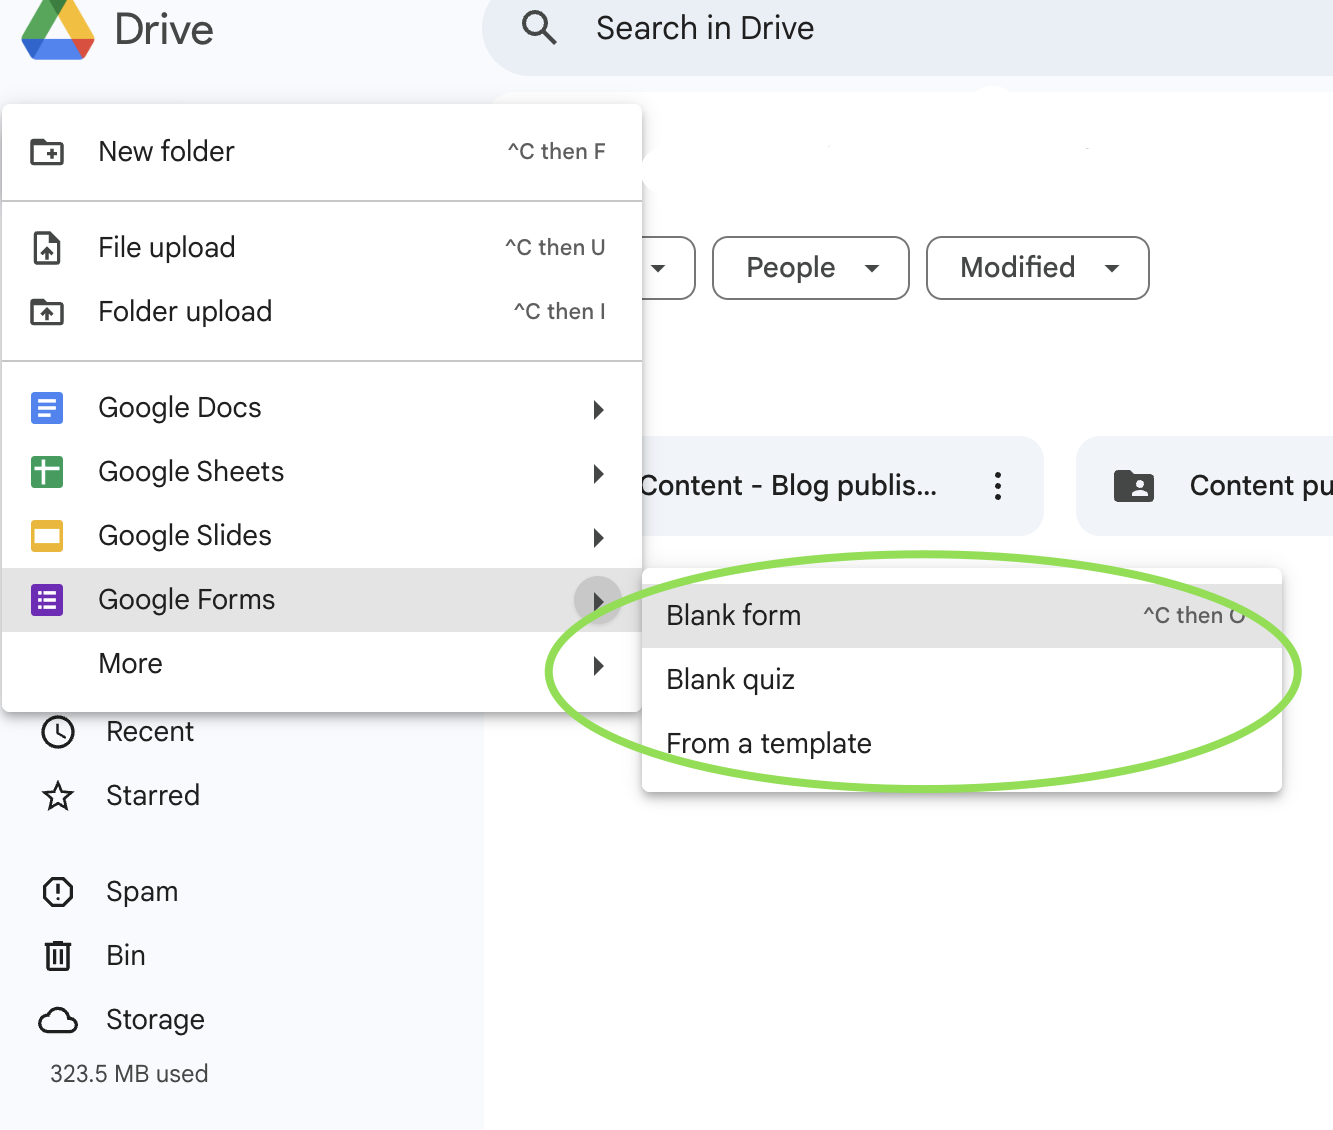
- Open Google Forms: Go to Google Forms and log in with your Google account.
- Select a Blank Form: Click on the "+" sign to start with a blank form, or choose a template that suits your needs. Google offers several quiz templates that can save you time.

Step 2: Set Up Your Quiz
- Title Your Form: Click on "Untitled form" at the top to enter your quiz title. Make it clear and concise, such as "Math Quiz" or "Employee Training Assessment."
- Add a Description: Below the title, provide a brief description of the quiz. Include instructions or objectives to guide participants.
Step 3: Configure Quiz Settings
- Enable Quiz Mode: Click on the settings icon (gear icon) in the upper right corner. Navigate to the "Quizzes" tab and toggle on "Make this a quiz." This feature allows you to assign point values and provide automatic feedback.
- Customize Settings: Decide if you want to release the grade immediately after submission or later, and whether you want to allow respondents to see their missed questions, correct answers, and point values.
Step 4: Add Questions
- Choose Question Types: Google Forms allows various question types, including multiple choice, checkboxes, short answer, and linear scale. Click on the "+" icon to add a new question.
- Input Your Questions: Type your question in the provided field. For multiple choice questions, add possible answers below the question.
- Assign Point Values: For each question, click on the answer key option to assign point values and provide correct answers. This is essential for automated grading.
Step 5: Customize Your Quiz
- Use Themes and Images: Click on the palette icon to select a theme color and background image. Adding images or videos to questions can enhance engagement.
- Preview Your Quiz: Click the eye icon in the upper right corner to preview how your quiz will look to participants. This step allows you to ensure everything is set up correctly.
Step 6: Share Your Quiz
- Send the Form: Click the "Send" button in the top right corner. You can share your quiz via email, link, or embed it in a website.
- Collect Responses: Monitor responses in real-time by clicking on the "Responses" tab. You can view summary charts and individual answers.
FAQ Section
Q1: Can I make changes to my quiz after sharing it?
Yes, you can edit your quiz at any time. However, be mindful that changes may affect responses that have already been submitted.
Q2: How do I view quiz responses?
To view responses, go to the "Responses" tab in your Google Form. You can see summary statistics or individual responses, and export them to Google Sheets for further analysis.
Q3: Can I add images or videos to my quiz?
Absolutely! You can enhance your quiz by adding images or videos to questions, making it more interactive.
Q4: Is there a limit to the number of questions I can include?
There is no strict limit on the number of questions, but be mindful that longer quizzes may lead to participant fatigue.
Q5: Can I restrict responses to one per person?
Yes, you can limit responses by requiring participants to sign in with their Google accounts. This setting is found in the "Settings" menu.